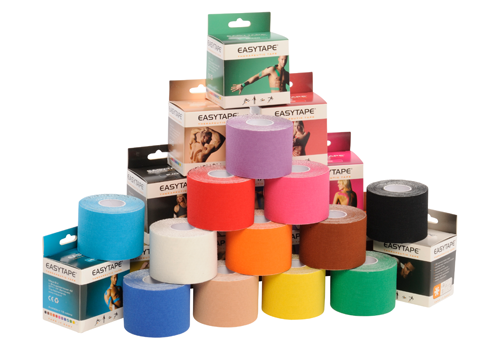
Easytape® applications
On this page you will find useful tips for using Easytape® Therapeutic tape and Easytape® Lymph & Scar tape. These pages have been created to inform you about certain complaints and how they can be treated with Easytape®. The 10 tips listed in the paragraph below can be applied to any tape treatment, regardless of the complaint.

.
10 tips on how to use Easytape® kinesiologytape
.
TIP 1 | CLEAN SKIN
Make sure the skin is clean, dry and free of grease. If the skin is not clean, it can affect the adhesion (the sticking force). Clean the skin if a body lotion or body oil has been used half a day prior to taping. The skin can be cleaned with soap and water or with a special oil removing product.
TIP 2 | BODY HAIR
To prevent discomfort, it is advisable to apply Easytape® to a hair free skin. Body hair can affect the adhesion of the tape: it can release more quickly. Removing Easytape® can be uncomfortable when applied over body hair. For tips on how to remove Easytape® pain-free, we redirect you to tip 10. We recommend trimming the body hair. We do not recommend shaving because wounds can occur due to the use of a razor blade.
TIP 3 | CUT THE EDGES
Cutting the edges at the end allows the tape to stay longer. The corners can let go more easily when there is friction between the tape and clothes. Make sure to rub the ends after applying. The warmth activates the adhesive.
TIP 4 | DON'T TOUCH THE ADHESIVE
Any contact with the sticky back of the tape may cause the tape to adhere less. Tear the paper on the back in half and take the paper off it's center. This prevents fingers on the adhesive for the optimum adhesive force.
TIP 5 | APPLY TAPE WITHOUT STRETCH AT THE ENDS
When applying Easytape® (with 15% to 100% elongation) it is important that the ends are applied without stretch. The more elongation at the ends, the bigger the chance that the ends will release quickly. Place the ends of the tape with 0% stretch.
TIP 6 | NO CREASING
Make sure that the skin is not creased when applying. This can cause painful blisters when the tape (applied with stretch) falls into skinfolds. Also make sure that there is no crease in the tape when applying the tape, because this can also cause blisters.
TIP 7 | RUB WARM AFTER APPLYING
After applying Easytape® you should gently rub the tape with your fingertips or hand. The hypo-neutral adhesive layer is activated by heat. The tape will therefore remain longer because the adhesion is activated.
TIP 8 | WHAT TO DO BY ITCHING OR IRRITATION
Short-term itching (about 10 to 20 minutes) can occur when the tape is applied to the skin. This does not have to be a problem, because it can mean that the tape does its job properly: the circulation is supported. However, with persistant itching, irritation or burning sensations that lasts longer than half an hour, the tape must be removed. When removed it can leave red marks which means that the tape does its job properly: the circulation is supported. This will fade in a few minutes.
TIP 9 | FASCIAL APPLICATION
Easytaping and the concept of 'fascial taping' do not go without each other. Make sure that the Easytape® is always applied fascial. Fascial means "stretching of the skin".
TIP 10 | REMOVING EASYTAPE
Always remove Easytape® carefully from the skin: do not pull too hard or too fast as this can damage your skin. You can use an oil (baby oil, olive oil or coconut oil) to remove the tape painlessly. The tape does not leave glue residue behind.
EASYTAPE® | ALL RIGHTS RESERVED | DISCLAIMER | PRIVACY POLICY
